Authenticated scanning involves providing credentials (such as usernames and passwords) to the scanning tool, allowing it to log in to the target systems or devices as an authorized user. This enables the scanning tool to access and collect detailed information about the target’s configuration, installed software, patches, and other system attributes that may not be accessible through non-authenticated scanning methods.
Qualys Authentication allows the scanning tool to gather comprehensive information about the target systems, including detailed software inventory, configuration settings, and patch status. By authenticating to target systems, Qualys can perform deeper vulnerability assessments, identify misconfigurations, missing patches, and potential security weaknesses that may be overlooked in non-authenticated scans.
Authenticated scanning offers several benefits, including:
More accurate and comprehensive vulnerability assessment results.
Better detection of security issues related to system configuration and patch management.
Reduced false positives and more reliable risk prioritization.
Enhanced compliance auditing capabilities, particularly for regulatory requirements that mandate comprehensive asset inventory and configuration management.
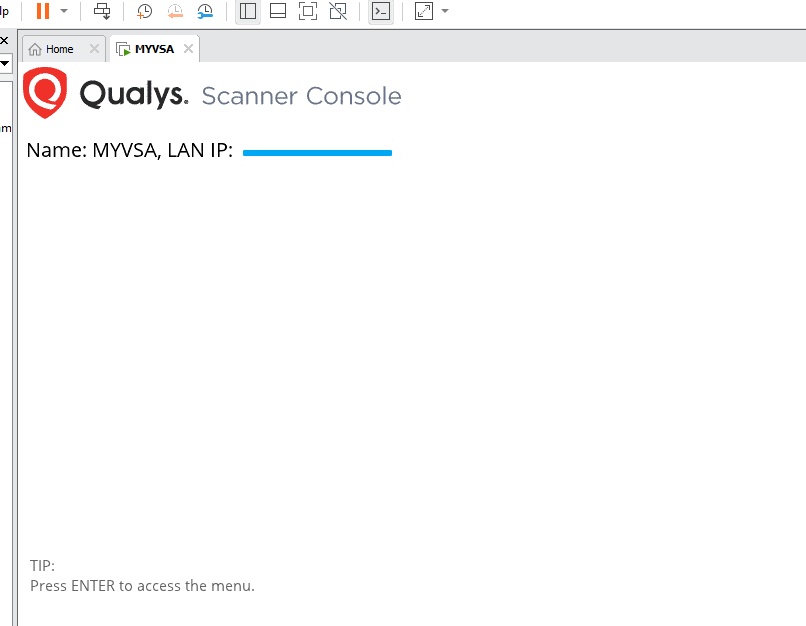
Click here for a step-by-step guide on installing and configuring Qualys Virtual Scanner. Once your virtual Appliance is ready as shown in the screenshots below, let’s proceed with the scanning.


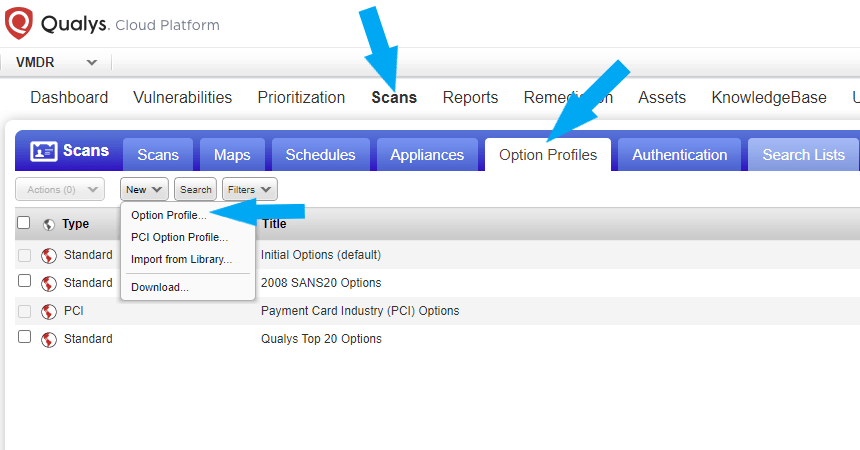
We need to create an Option Profile for the authentication scan. Click on the scans tab > Option Profiles > New > Option Profiles.

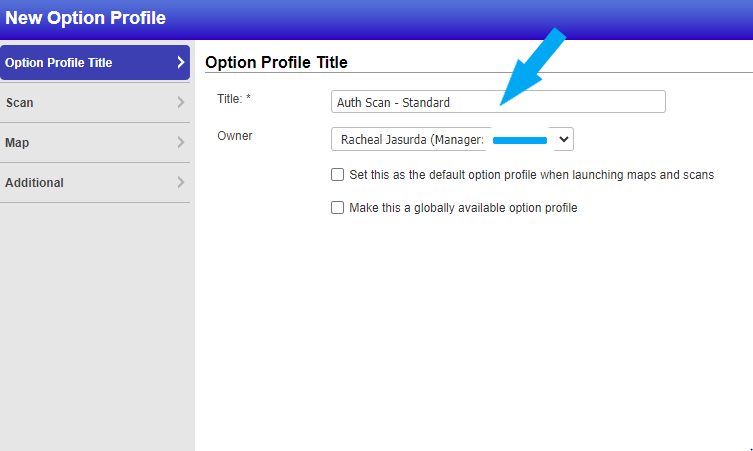
Name your new Option Profile

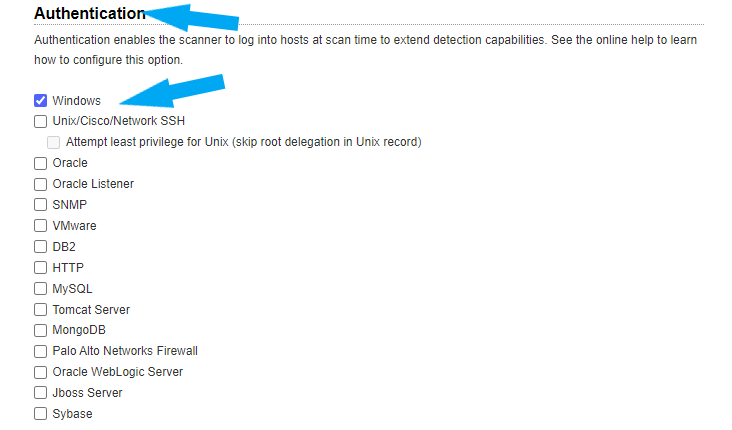
Click on Scan, for this example we are leaving everything else as default except the Authentication as this is a basic Authentication scan. We are using the Windows Domain Authentication created in the previous lab. See how to create Windows Domain Authentication here. Click here to learn how to set up Unix Authentication (Linux in Qualys). Check the box next to Windows under Authentication. And Click the save button.

Next, we are going to create a new Scan. To do this, click the Scans tab > Scans > New > Scan. Give your new scan a Title, Select the Option Profiles created, leave the Processing Priority as 0, and choose the Virtual Scanner Appliance created.
Choose your Target Host. You can choose an Asset Group, see how to create an Asset Group here. For this example, I am scanning a specific IP address of a Windows 10 virtual machine I made Vulnerable. See how to make a vulnerable machine here.
Note: Before you launch the scan, ensure your target host IP address (es) is in the same range as the IP address of your virtual appliance. Turn the firewall off on your target host. For this example, my target host is Windows 10 and Windows Defender is turned off. See how to turn Windows Defender off here. Click the Launch button.

The Scan was completed successfully. You should see similar to the screenshot below.

Next, let’s review the Scan Result. Click here for How to Analyze Qualys Scan Results.
