What is Splunk Enterprise?
Splunk Enterprise is a Security Information & Event Management SIEM solution that allows you to manage your data in one place. By providing a user-friendly dashboard to collect, analyze, visualize, and manage your data.
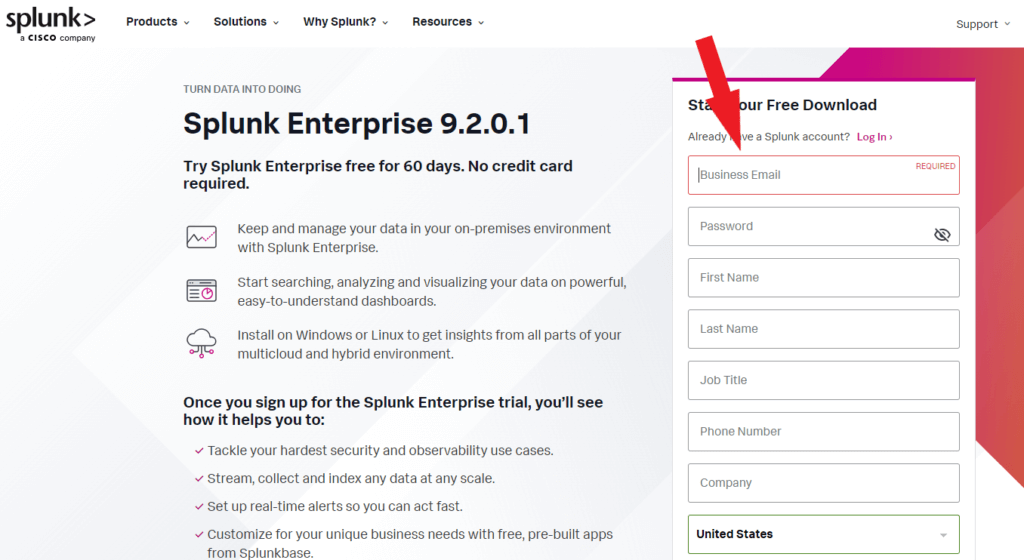
Click here to download the Splunk Enterprise Installer from the Splunk website. Fill out the form to create your account for a free 60-day trial.
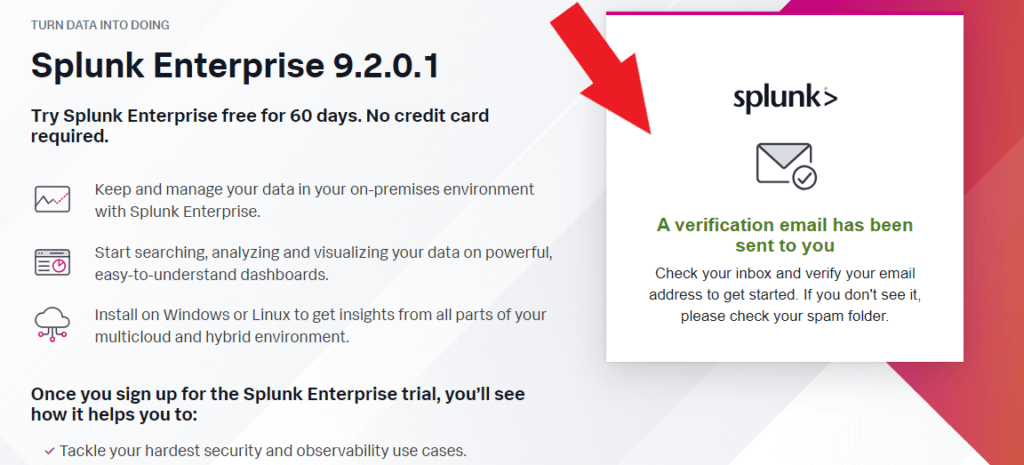
Check your email for verification email from Splunk
Click on the Verify Your Email button. You will be redirected to the download page

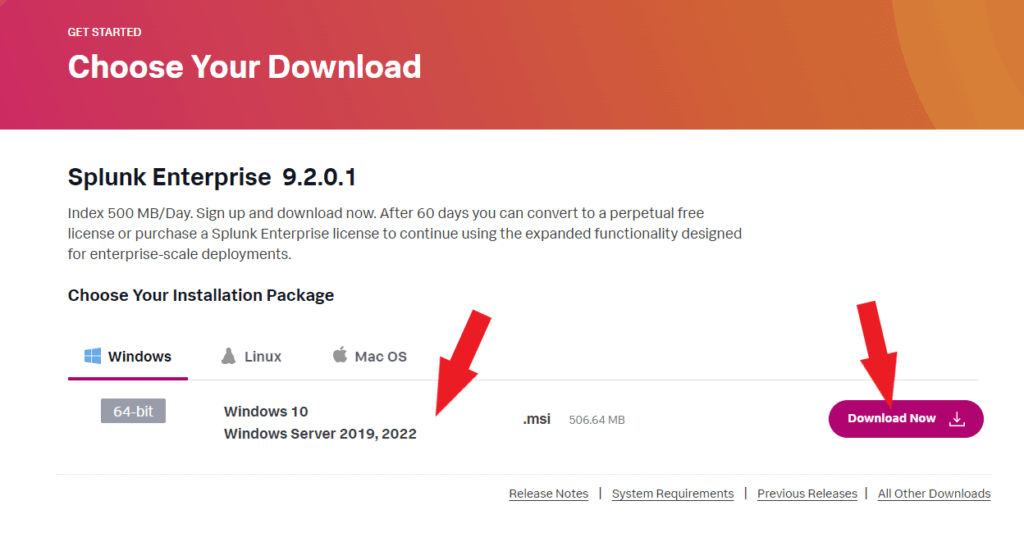
Choose your installation package based on your operating system and click the Download Now button. I am using the Windows operating system in this example.
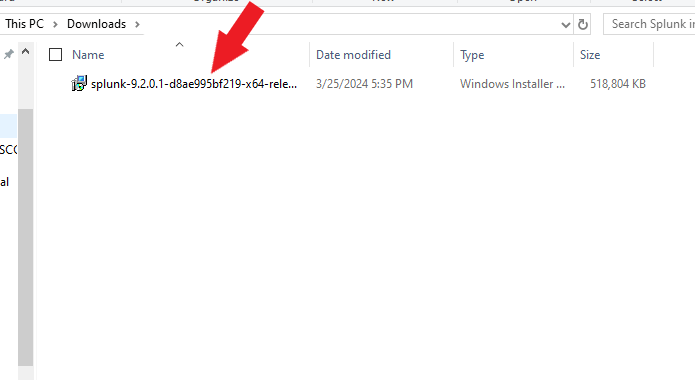
Locate the installer and double-click the Splunk file.
Click the check box to agree to the license agreement and click Next to continue the installation. Click on View Licence Agreement if you would like to view the license agreement (Optional). Click Customize Options if you want to change any default installation settings. We are using the default installation settings in this example. Click Next.
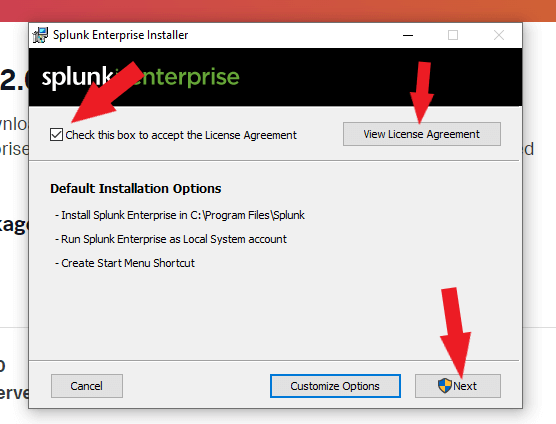
Install Splunk Enterprise on the drive that booted your machine. Example C:\Program Files\Splunk
Create a Splunk administration username and password.

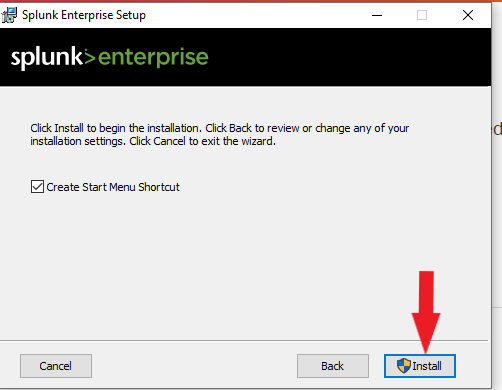
Check the Create Start Menu Shortcut box. Click the install button and wait while the setup wizard installs Splunk Enterprise.
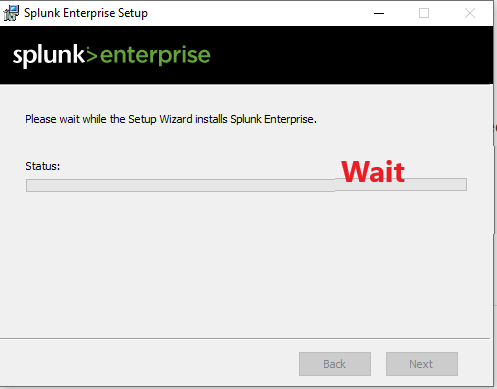
Check the box to Launch browser with Splunk Enterprise and Click Finish

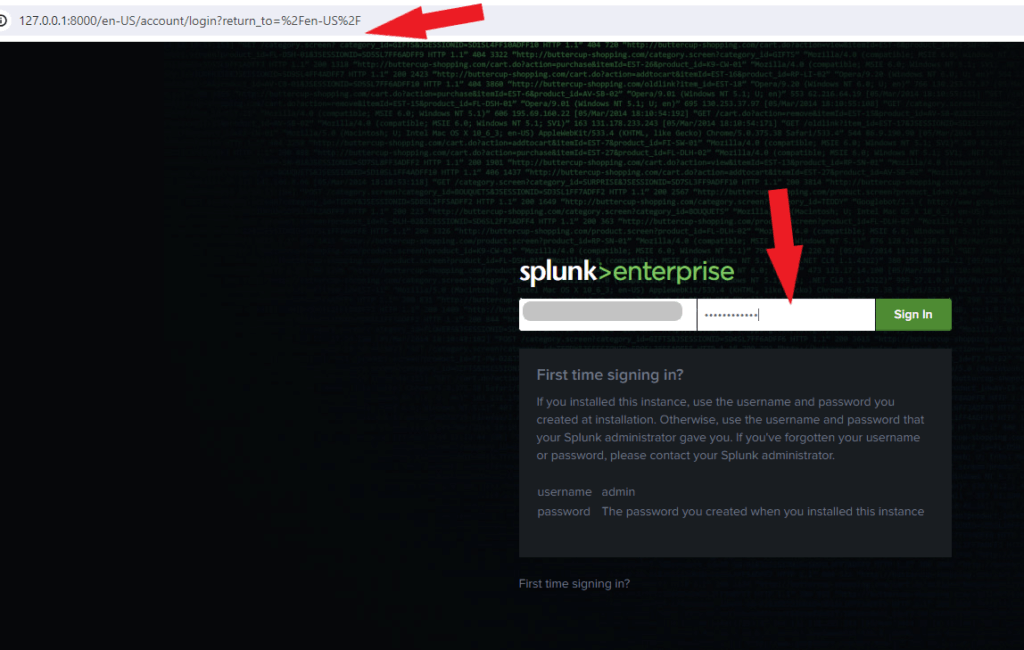
The installation was completed successfully, and Splunk will launch in your default browser. Log in with the administration username and password you created during installation.
Reference
Splunk Enterprise Installation Manual
