Login to your Nesus account. If you don’t have an account, Click here for a Step-by-Step Guide on Installing Nessus Essentials. It’s free!
What is a Nessus Credentialed Scan?
Nessus credential scan is a trusted scan. It enables us to scan internally by providing authorized user credentials (username and password) to perform the scan. Nessus credentialed scan provides a reliable scan result with details that can help prioritize vulnerability remediation.
Click on the New Scan button by the top right.

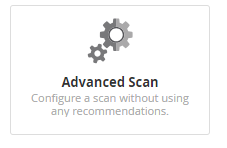
Choose the Advanced Scan
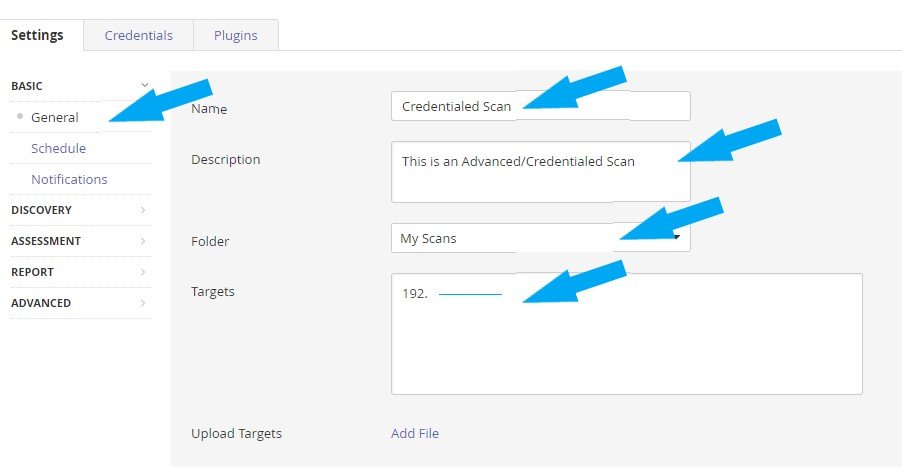
Click on the General on the left. Name your scan, type a description (optional), choose My Scan folder for your scan, and enter your target IP address(s) or IP range.
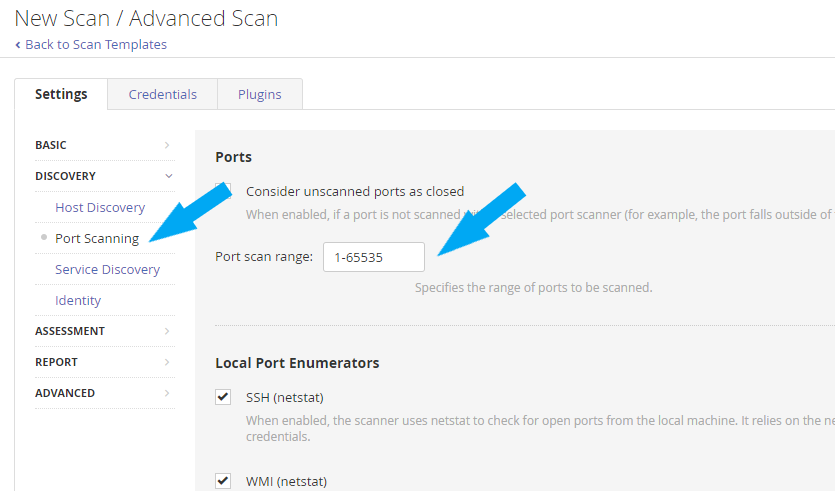
Click on Discovery > Port Scanning on the left. Change it from the default to 1-65535.
You can schedule your scan as shown below. But for this scan, I am keeping the schedule off.

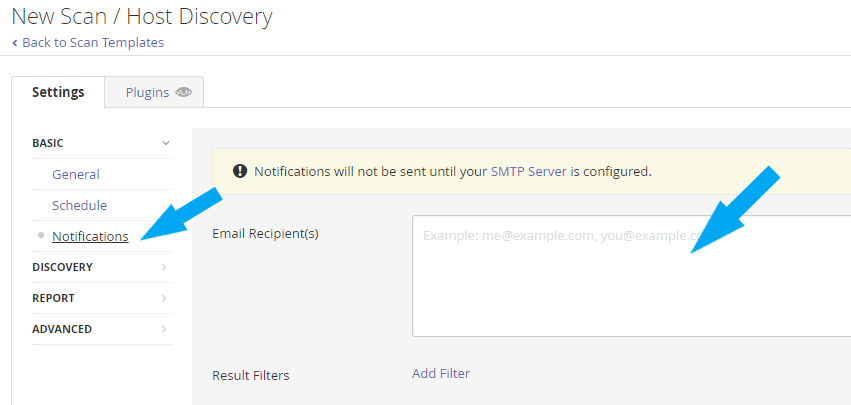
You can enter an email address to receive notification as shown below. But for this scan, I am keeping it as default.
Click Credentials, Categories > Host. In the filter Credential, type Windows and select Windows. Enter an Administrator’s credential.
Note: I created an admin user account in the AD Domain controller for this project. I will include the guide below if you need to create a new account; otherwise, skip it.

Click the save button, and click on My Scans on the left under the Folders.
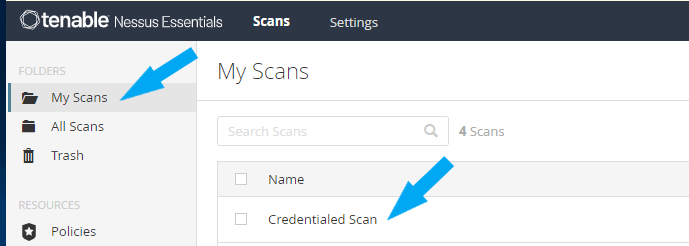
Click the play icon by the top right.

The Credentialed Scan was completed successfully.

Click the Vulnerability tab and click on each Vulnerability to learn about them.

How to create an Active Directory Domain user account in Domain Controller
We need to create a new AD Domain user account to be used for Nessus credentialed scan. And add the user to the Global administrator group.
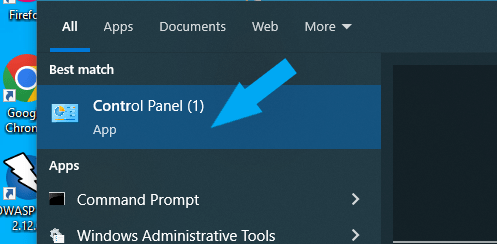
To create a new AD Domain user account, type Control Panel in the search box

Click Control Panel as shown below.
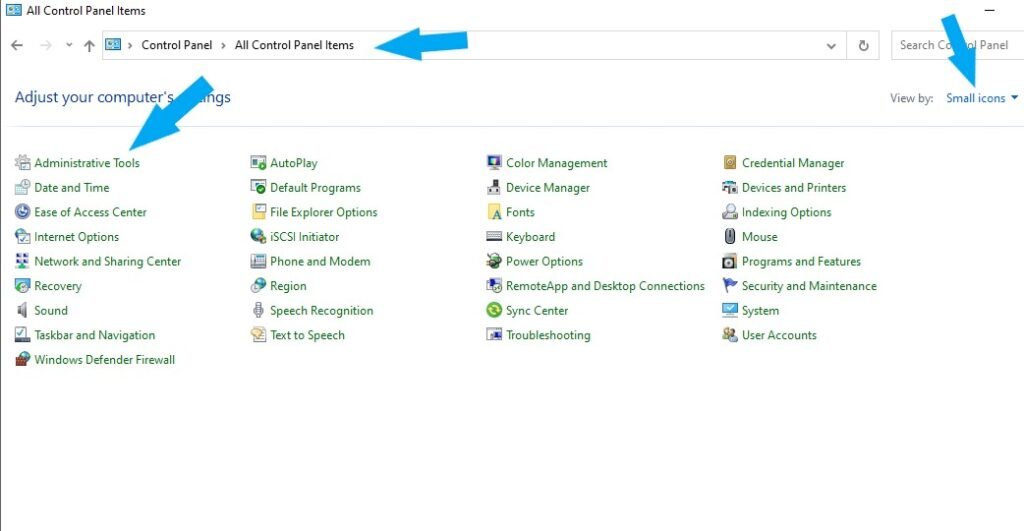
Change your “view by” on the top right to small icons. To easily locate Administrative Tools. Click Administrative Tools.
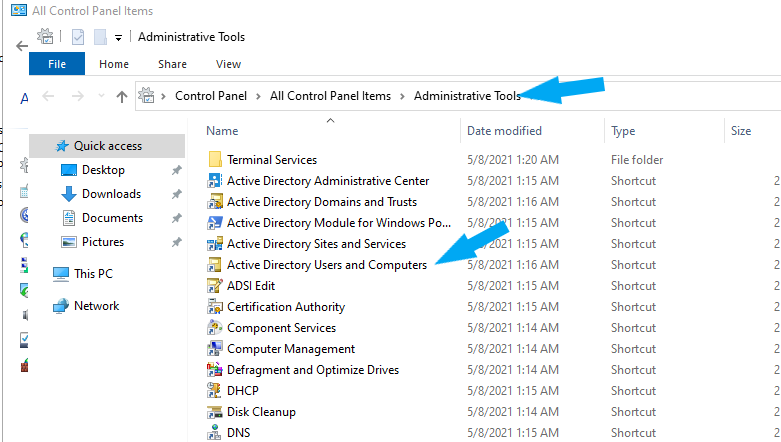
Double-click Active Directory Users and Computers.
Right Click Users > New > User.

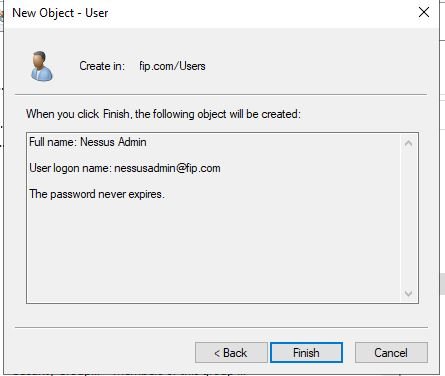
Name the New user. For this project, type Nessus as the first name and Admin as the last name in the Full name box. Enter “NessusAdmin” in the User logon name and click the Next button.

Create and confirm a password for the new user. Check the box next to User must change password at the next login if you want to change the password. For this example, I do not want to change the password, so I checked Password never expires.

Click the Finish button.
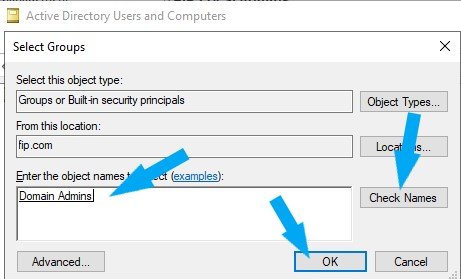
Next, let’s add the user to the Domain Admins group. User > Right-click the “NessusAdmin” > Add to a group. Type Domain Admins, and click the Check Names button to make sure it’s a valid group. Click the OK button.
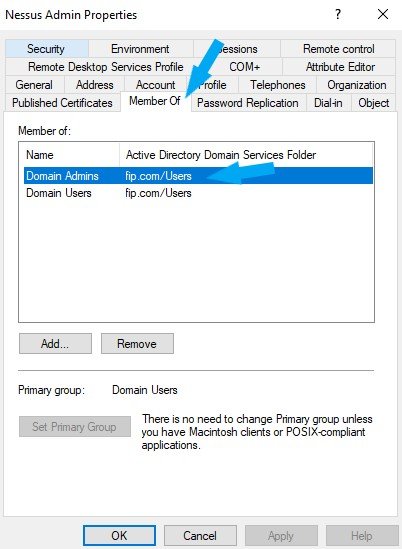
We have successfully added the user to a group.

Right-click the “NessusAdmin” user, and click properties. Click the Member Of tab to see what groups the user belongs to.
Next, we are going to learn how to analyze, verify, and mitigate the true positives. Click here to learn.
