The Qualys Virtual Scanner Appliance enables you to maintain a perspective on security and adherence to regulations. It possesses the same scanning functionalities as the physical scanner appliance. It is a stateless resource that can be disposed of, serves as an extension of the Qualys Cloud Platform, and does not require separate management. Now that you have some understanding of what Qualys Virtual Scanner Appliance is. Let’s proceed with the installation process.
Installing Qualys Virtual Scanner
Click here to create your 30-day free Qualys VMDR trial account.

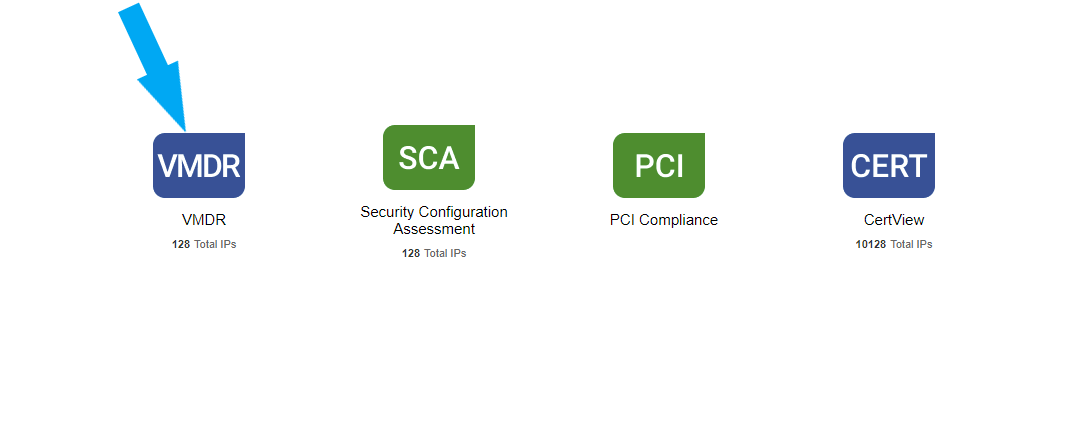
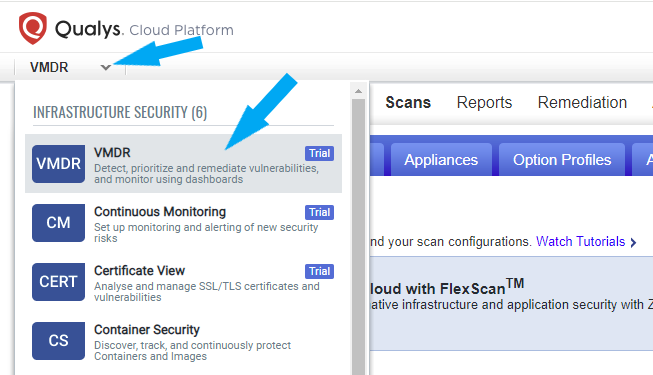
Login to your Qualys account and choose VMDR, as shown in the screenshot below. Alternatively, you can navigate to VMDR by clicking the drop-down arrow next to the VMDR button at the top left and Choosing VMDR, as shown in the second screenshot below.
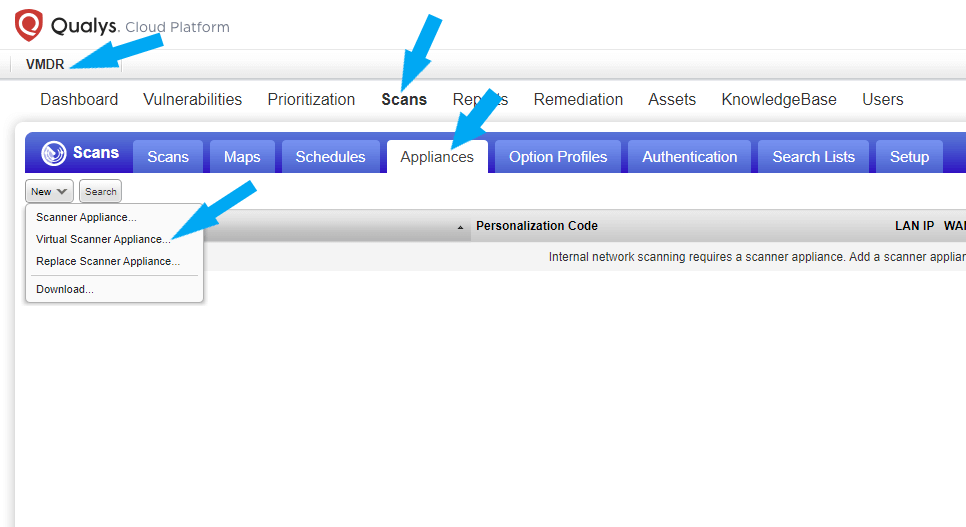
To create a new Virtual Scanner Appliance, Click on Scans,===>>>Appliances; under Appliances, click on the drop-down arrow next to the New button, and select Virtual Scanner Appliance.
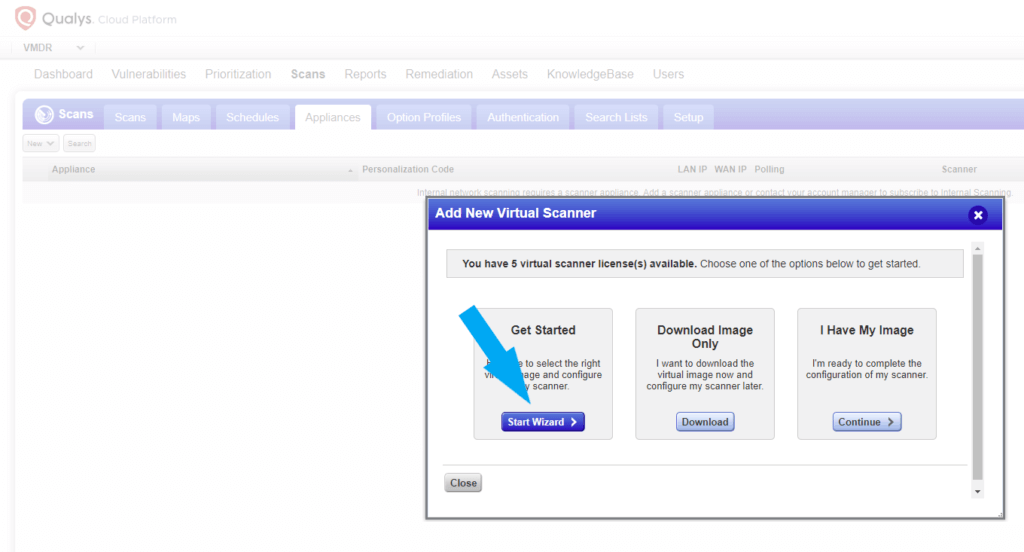
Click on the Start Wizard button.
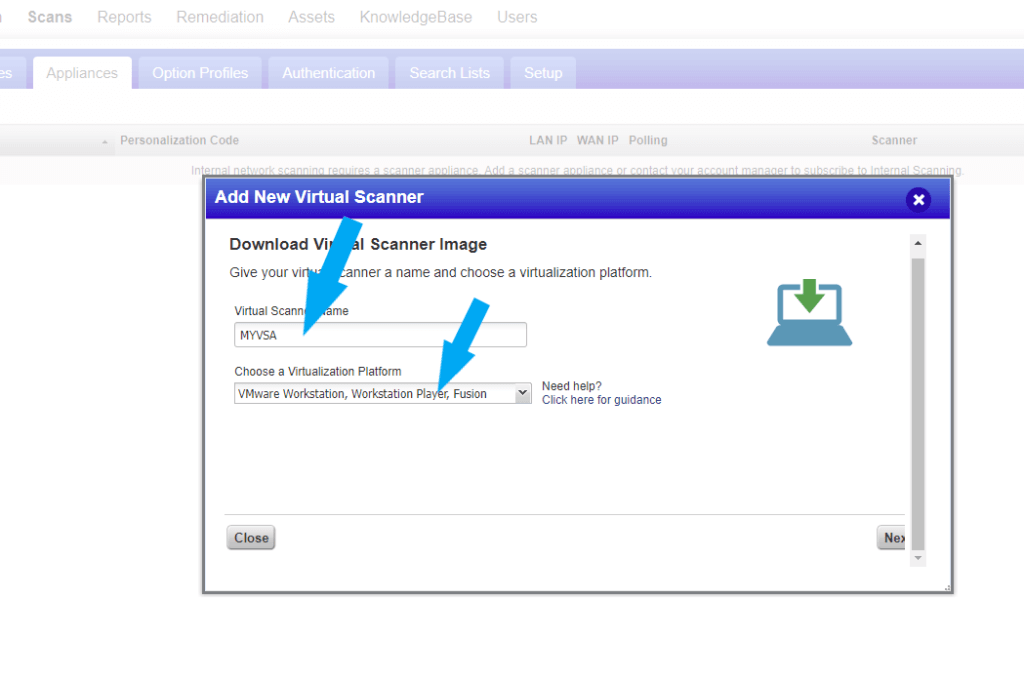
Name your appliance and choose a virtualization platform by clicking the drop-down arrow and clicking Next. For this example, I am using Vmware Workstation.
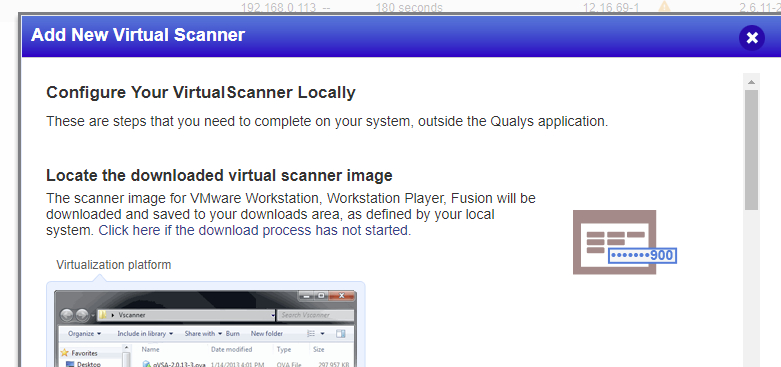
A pop-up appears showing instructions on how to configure the virtual scanner Locally. Click the Next button.
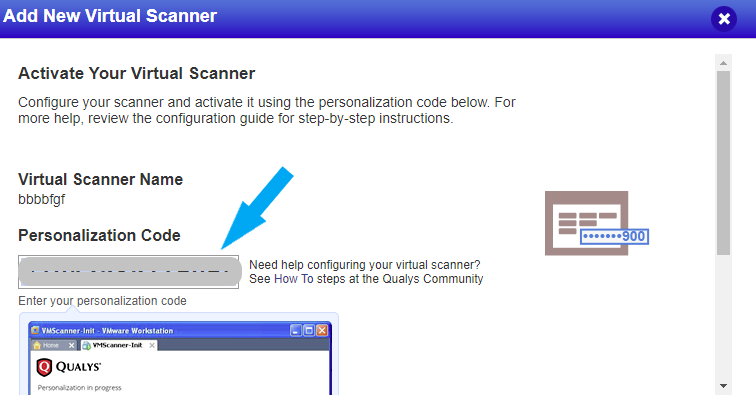
Copy the personalization code to a safe place (You will need it later).
Configuring Qualys Virtual Scanner
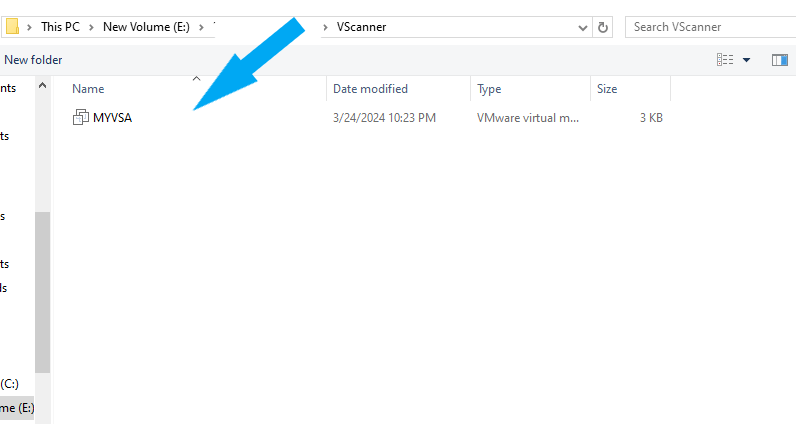
Open up a virtualization platform of your choice. I am using Vmware Workstation In this example. Click File===> Open====>> Locate the Virtual Scanner image downloaded earlier on your local system. Click on the image to import it.
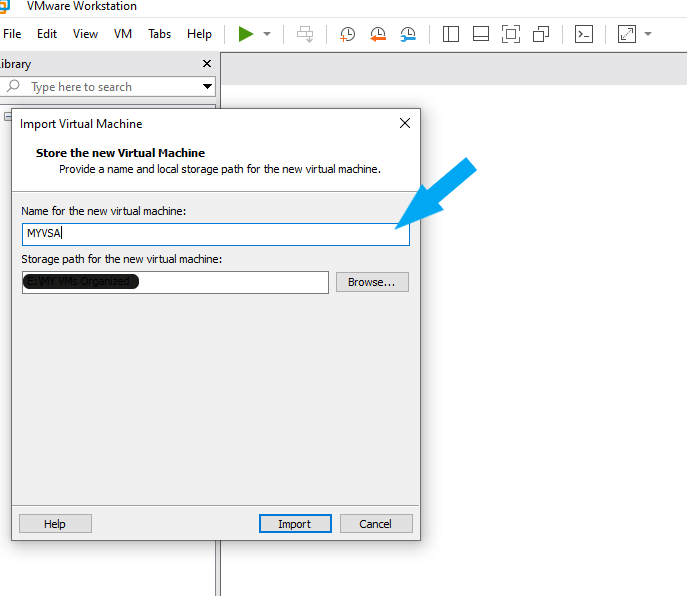
Name your Virtual Machine and choose a storage path for the machine. Click the Import button.
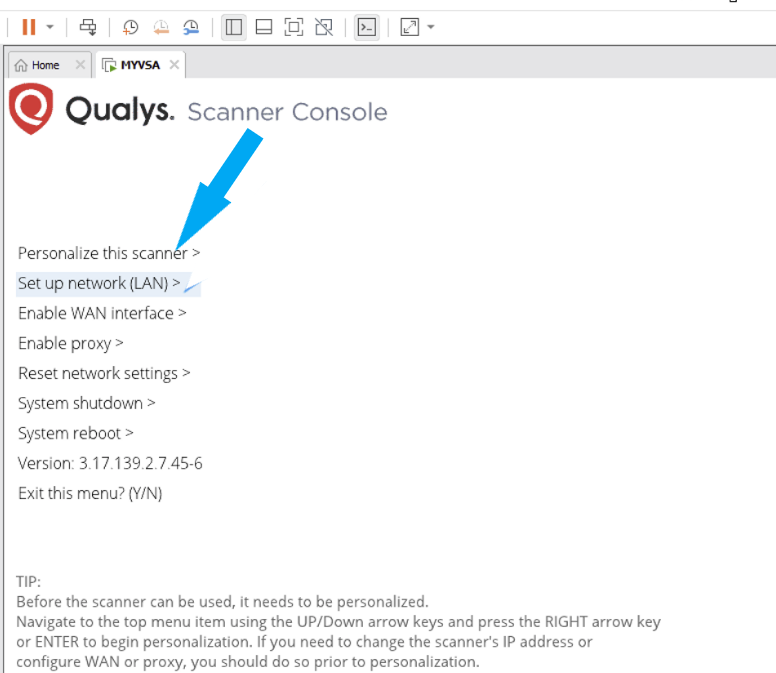
An IP address is automatically configured for your virtual scanner with DHCP. If you want, you can set a static IP address instead by selecting “Set up the network (LAN).” A screen appears like the screenshot below. Using the keyboard, enter the personalization code you copied earlier. If you don’t have the code, follow these steps to get it. In your Qualys VMDR account. Scans > Appliances > Personalization code, as shown in the second screenshot below.

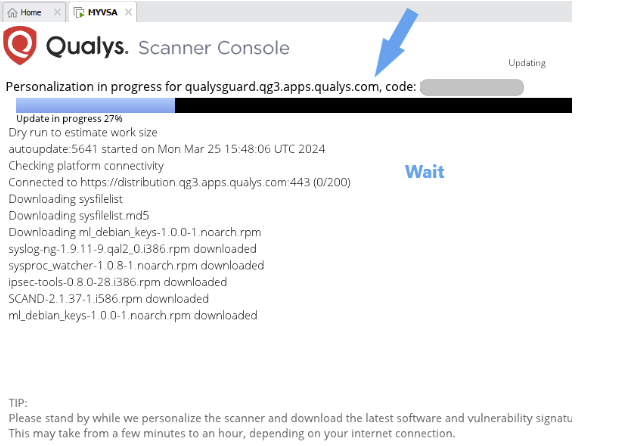
The activation process begins, as shown in the screenshot below, and you’ll see the progress. Wait for the activation process to complete. This may take a few minutes to complete.
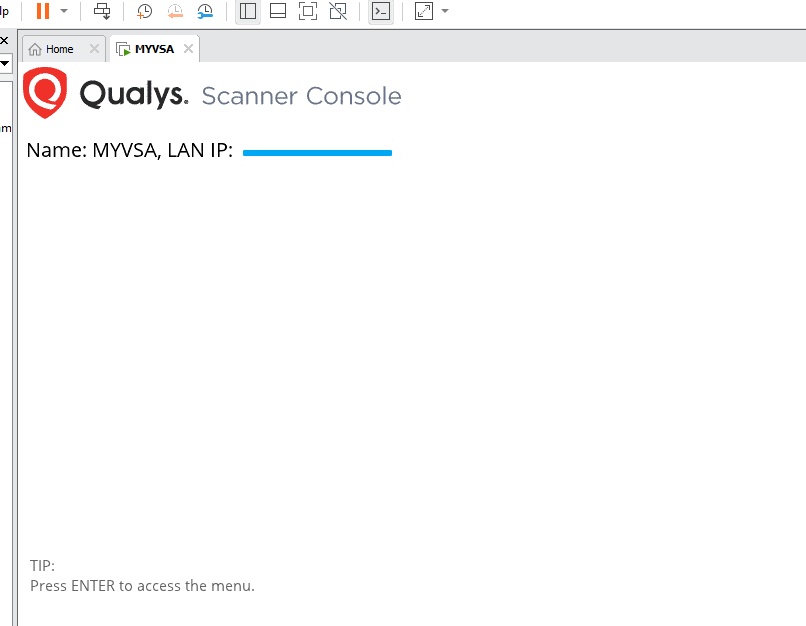
Once the process is completed, you will see your scanner’s name and IP address, as shown in the screenshot below.
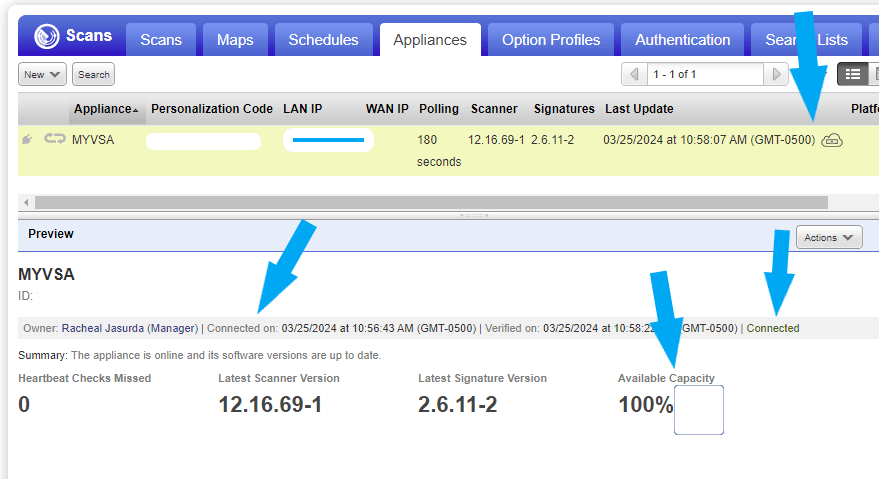
You have successfully added your virtual scanner to your account. You can see it In your Qualys VMDR account. Scans > Appliances, as shown in the second screenshot below.
