Table Of Contents
How to Install Splunk Enterprise on Ubuntu Server – A Step-by-Step Guide
Splunk Enterprise is one of the most powerful platforms for searching, monitoring, and analyzing machine-generated data. It provides real-time insights into logs, metrics, and events, making it an essential tool for IT professionals and system administrators.
If you are looking to install Splunk Enterprise on a Ubuntu server, you are at the right place. In this guide, I will walk you through the installation process step by step, from downloading the software to installing it successfully.
Download Splunk Enterprise
First, you need to download the latest version of Splunk Enterprise. Visit the official Splunk website to download it. You can either download the .deb package directly from the website or use wget to download it from the terminal.
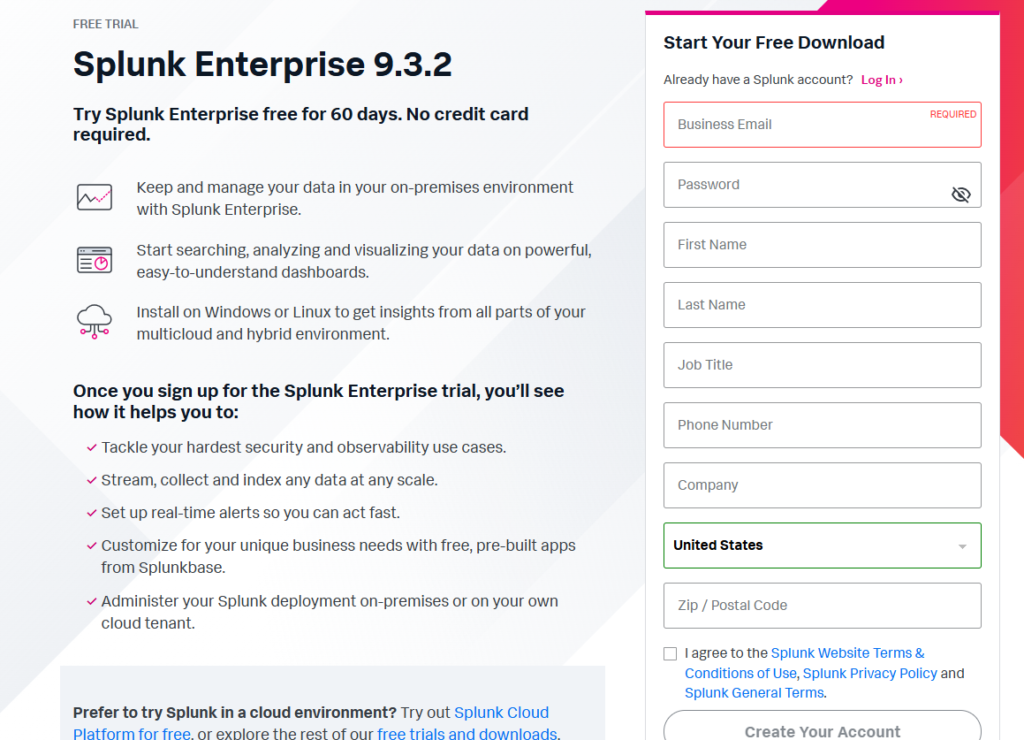
For this exam, I am using a trial version. Click here to download Splunk Enterprise’s 60-day free trial. Fill out the form, agree to the terms and conditions of use, and create your account.

Check your email and verify your email.

Log in to your newly created account. Select Linux as your Installation Package and click the Download Now button for .deb to download, as shown in the screenshot below.
Use wget to download the Splunk .deb package
For this example, I will use wget to download the Splunk.deb package. Click on the Download Now button and cancel the downloading process.

Click on Download via Comand Line (wget) and copy the command.

Open your terminal, and change your working directory to where you want your Splunk Enterprise to be downloaded (cd Downloads). Paste the command you copied earlier and press enter.
cd DownloadsType ls to check the downloaded package, as shown in the screenshot below.

Install the Splunk Package
Once the download is complete, you can install the Splunk.deb package on your Ubuntu server.
To install Splunk Enterprise, run the following command:
sudo apt install ./splunk.deb. Replace the <version> with the version of your downloaded Splunk, as shown in the screenshot below.
sudo apt install ./splunk<version>.deb
Start and Enable Splunk
Now that the installation is complete, it’s time to start the Splunk service.
To start Splunk for the first time, run sudo /opt/splunk/bin/splunk start –accept-license and press enter. Enter your sudo password and press enter.
sudo /opt/splunk/bin/splunk start --accept-licenseUsing your keyboard, press the enter key to scroll down to view the license agreement.

You’ll be prompted to accept the Splunk license agreement. Press y to accept.
Next, you’ll be asked to set an admin username and password, as shown below. These credentials will be used to log in to the Splunk web interface.

Once you’ve set up your username and password, Splunk will start running. If you want to ensure that Splunk starts automatically with your server, enable the service with the following command:
sudo /opt/splunk/bin/splunk enable boot-start
Access Splunk Web Interface
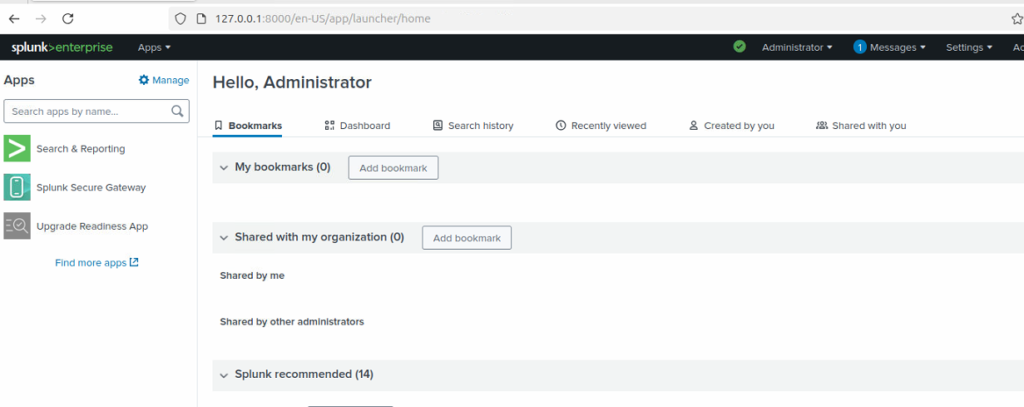
After Splunk is installed and running, you can access the Splunk Web interface to manage your data and configure Splunk.
Open a web browser and go to:
http://<your-server-ip>:8000Replace <your-server-ip> with the IP address of your Ubuntu server.

Log in using the admin username and password you set up earlier.

Set Up Splunk for Your Environment
Once logged into the Splunk Web interface, you can begin configuring data inputs. Click here to learn How to Install a Windows Universal Forwarder.
- Add Data: You can start by adding logs, metrics, and other machine data sources.
- Configure Indexes: Organize your data by creating specific indexes for various log sources.
- Create Alerts: Set up alerts to monitor your system and be notified of critical events.
- Install Apps and Add-ons: You can enhance Splunk’s functionality by installing apps and add-ons available from Splunkbase.
Conclusion
You have successfully installed Splunk Enterprise on your Ubuntu server. From here, you can explore its powerful features, such as data indexing, search capabilities, and real-time monitoring. Splunk is an invaluable tool for anyone dealing with large amounts of log or machine data, and having it set up on your server opens up a world of possibilities for monitoring and analyzing your environment. For further customization and usage, you can refer to the Splunk Documentation.
