Table Of Contents
How to Install Ubuntu Server in VMware Workstation: A Step-by-Step Guide
Installing Ubuntu Server on VMware Workstation is a great way to create a virtualized environment for testing, development, or learning Linux system administration. Whether you’re looking to refresh your skills or are new to Ubuntu Server, this guide will take you through the steps to get Ubuntu Server running smoothly in VMware Workstation.
What You Need Before You Begin
Before starting the installation process, ensure you have the following:
- Install VMware Workstation on your host machine. You can download it from VMware’s official website.
- Download the latest Ubuntu Server ISO image from the official Ubuntu website.
- Ensure your computer has enough RAM and CPU resources to allocate to the virtual machine (VM). Click here for the minimum resources requirement.
Once you have VMware Workstation installed and the Ubuntu Server ISO downloaded, you’re ready to start!
Create a New Virtual Machine
Open VMware Workstation. Select Create a New Virtual Machine. You will be prompted with a setup wizard. Ensure that the default Typical (recommended) is selected and click the Next button.

Choose the Installer Disc Image (ISO) option as shown below, browse to the location where you downloaded the Ubuntu Server ISO by clicking on Browse, select it, and click on the Next button to proceed.

Give your VM a name, such as Ubuntu Server. Select the location where the VM’s files will be stored and click the Next button.

Configure Virtual Machine Resources
After setting up the basic configurations, you will need to allocate system resources to your Ubuntu Server VM.
Allocate disk space as needed, at least 20 GB. Click here for the minimum requirement. If you plan to use this server for more extensive projects, allocate more space as needed. For this example, I will allocate 200, as shown in the screenshot below, to meet my needs. Select Store virtual disk as a single file and click on the Next button.

Click on Customize Hardware to customize your Virtual Machine resources.

- Assign memory at least 2 GB of RAM to the virtual machine. Consider allocating more RAM if your system can handle it for better performance and based on your needs, especially for heavier workloads.
- Set the number of processor cores according to your needs. For most users, 1 or 2 cores should be sufficient.
- The default NAT network connection should work for most users. This allows the virtual machine to access the internet through your host machine’s network connection. Adjust this based on your needs.

Click Okay and click on the Finish button to begin the installation.
Install Ubuntu Server
The VM will boot up, and you should see the Ubuntu Server installer, as shown in the screenshot below. Select your preferred language for the installation process using the arrow keys on your keyboard and press Enter.
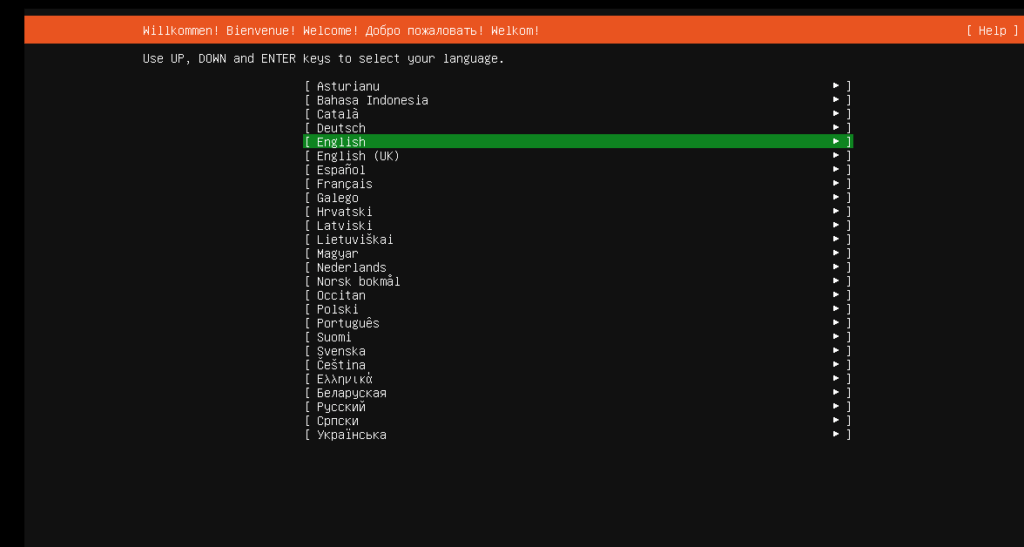
Using the arrow keys on your keyboard, select whether to update the installer or not. For this example I will select Update to the new installer and press Enter.

Choose your keyboard layout. For most users, the default English (US) option is suitable. Using the arrow keys on your keyboard, choose Done and press Enter.

Using the spacebar on your keyboard, select Ubuntu Server. Scroll down using your down arrow key, choose Done and press Enter.

Using the arrow keys on your keyboard, choose Done and press Enter.
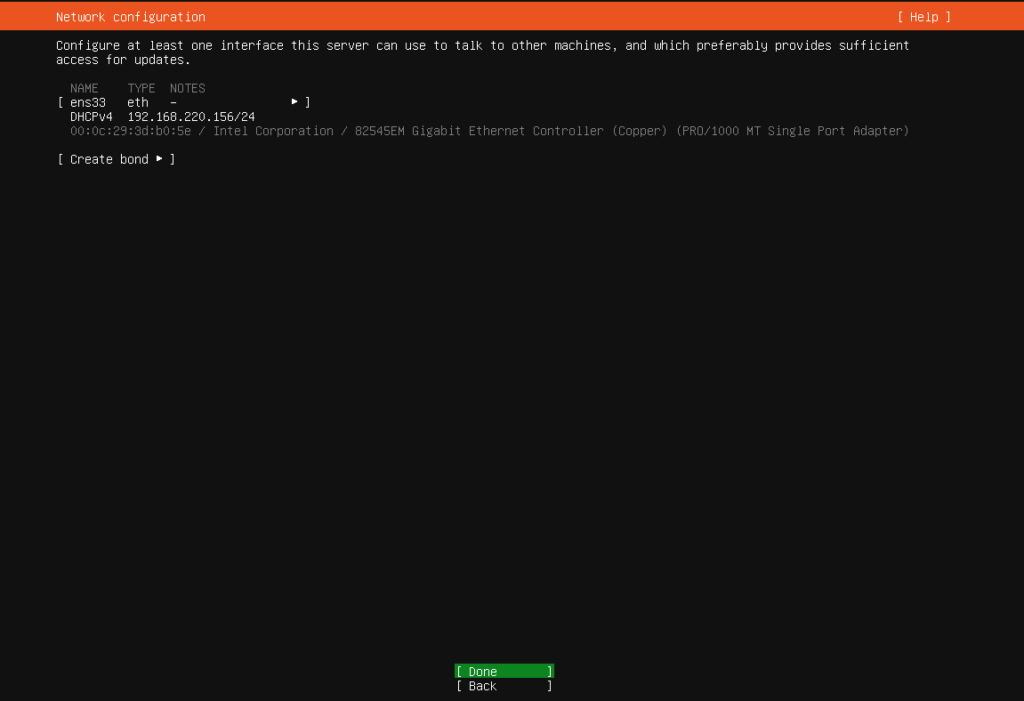
Using the arrow keys on your keyboard, choose Done and press Enter.
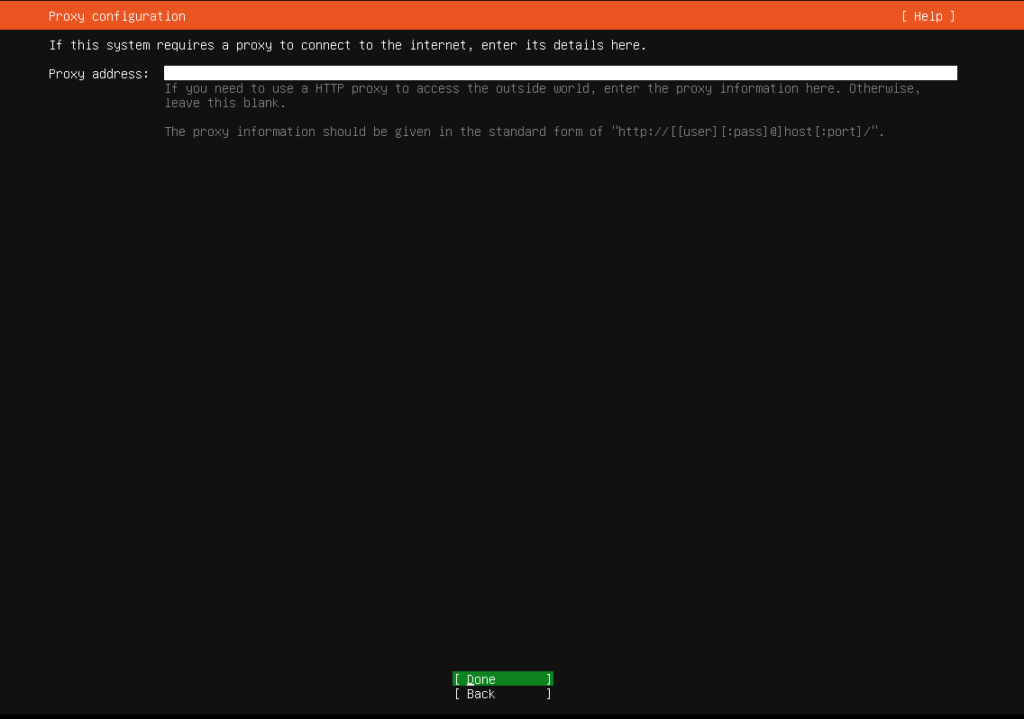
Using the arrow keys on your keyboard, choose Done and press Enter.
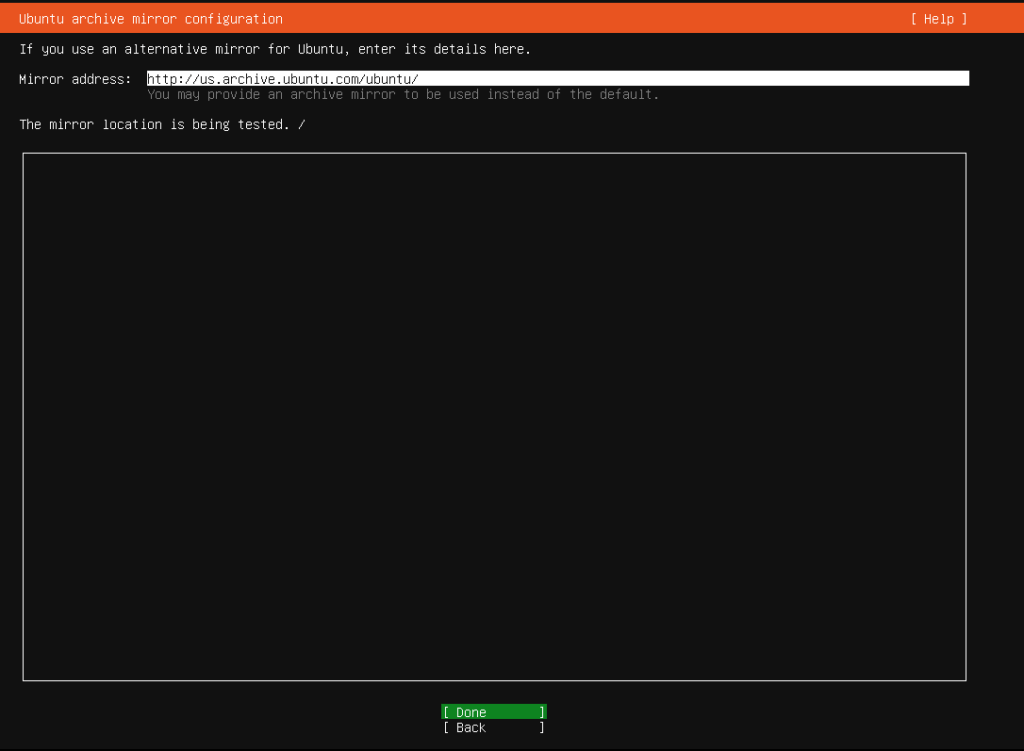
Using the arrow keys on your keyboard, choose Done and press Enter.
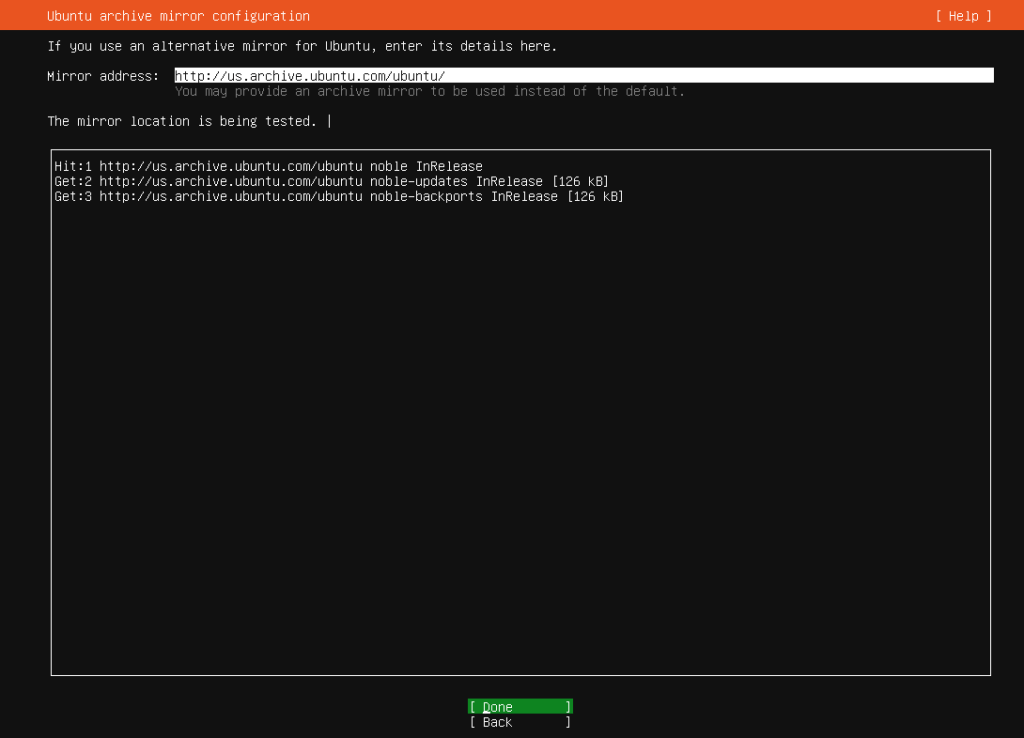
Leave it as default. Using the arrow keys on your keyboard, choose Done and press Enter.
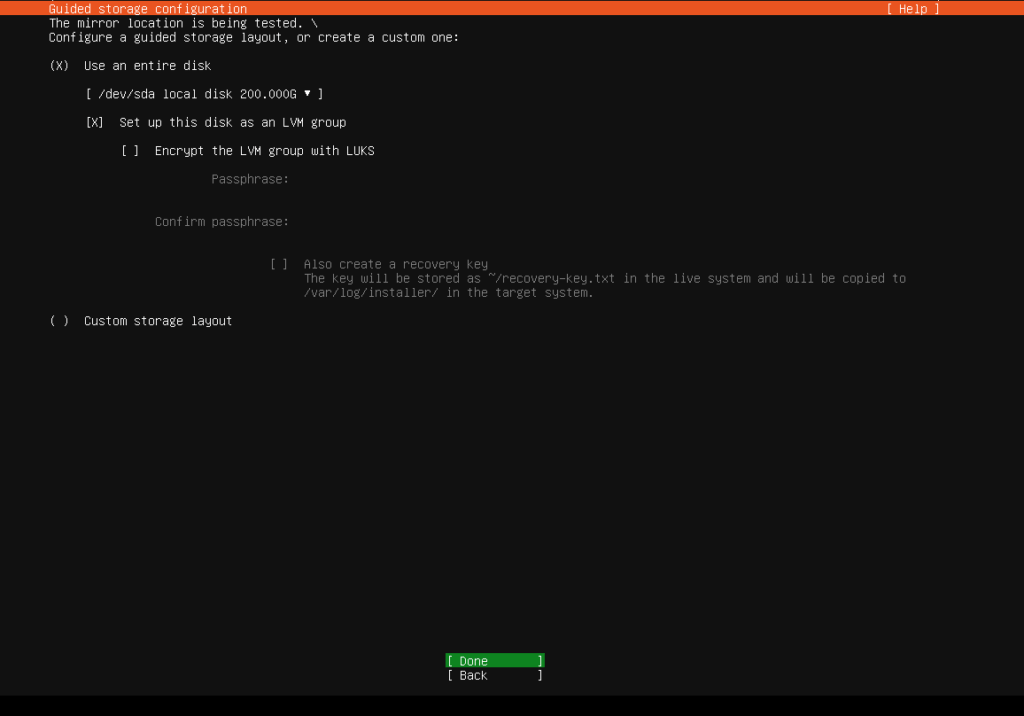
Using the arrow keys on your keyboard, choose Done and press Enter.

Using the arrow keys on your keyboard, choose Continue and press Enter.

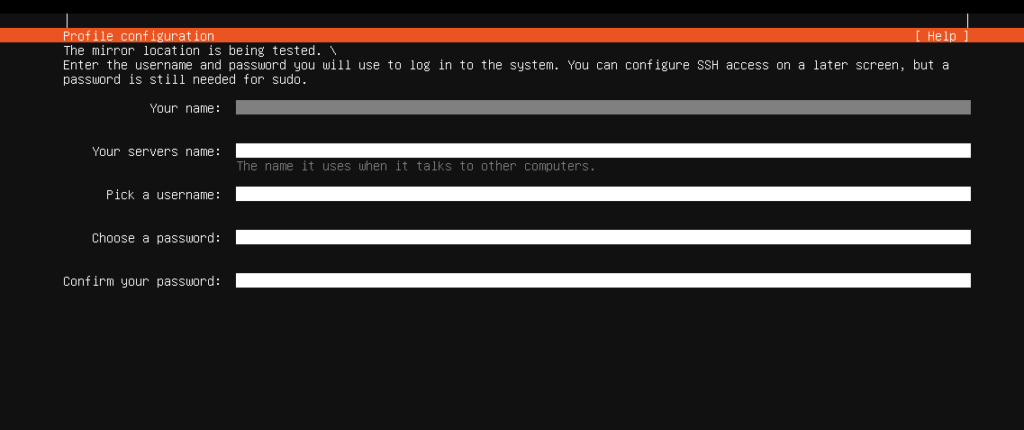
Personalize your Ubuntu Server. Enter your name and your server name, create a username and password, and confirm your password. Using the arrow keys on your keyboard, choose Done and press Enter.
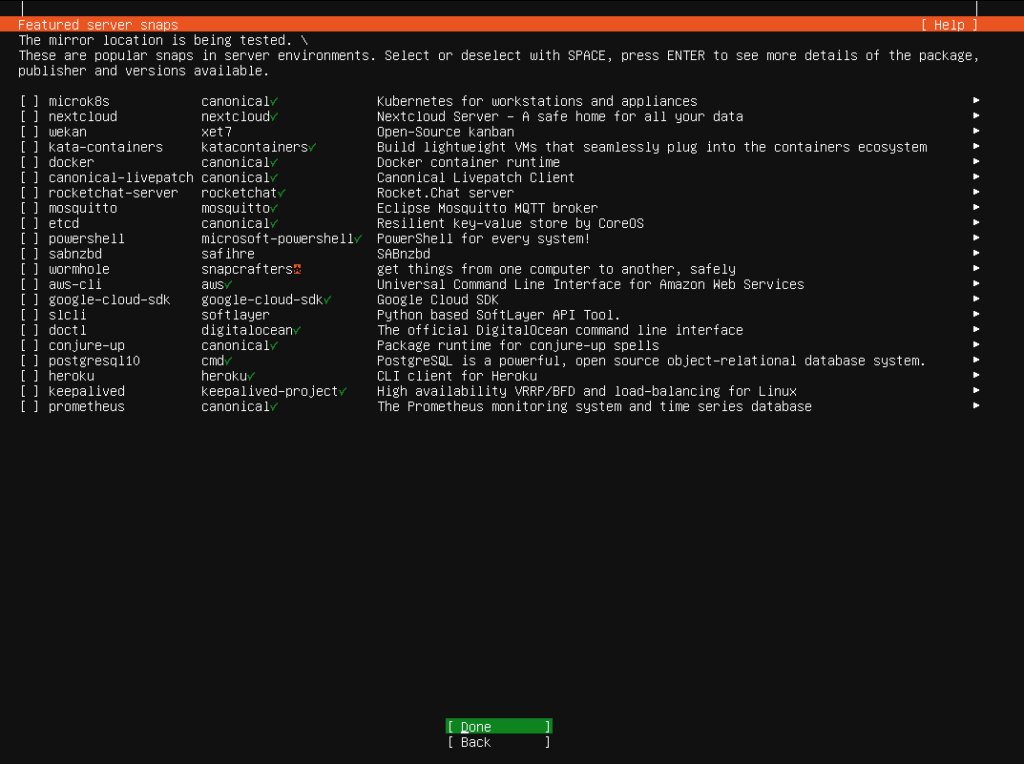
Using the spacebar on your keyboard, select Skip for now. Scroll down using the down arrow key on your keyboard, choose Continue, and press Enter.

Using the spacebar on your keyboard, select Install OpenSSH server. Scroll down using the down arrow key on your keyboard, choose Done, and press Enter.

Leave it as default. Using the arrow keys on your keyboard, choose Done and press Enter. The installer will now proceed with the installation. This process may take a few minutes. Wait for the installation to complete.
The installation was completed successfully. Using the arrow keys on your keyboard, choose Reboot Now and press Enter.

After your VM has rebooted, log into your Ubuntu Server by entering the username and password you created earlier.
Once logged in, open a terminal window and run the following command to ensure your system is up to date
sudo apt update sudo apt upgrade -yYou can either access your Ubuntu server remotely from another machine using Secure Shell (SSH) or install a GUI Ubuntu Desktop on the Ubuntu server. I will install a GUI Ubuntu Desktop on the server for this example.
First, install tasksel using the command below
sudo apt-get install tasksel

Next, install the Ubuntu Desktop GUI using the command below
sudo tasksel install ubuntu-desktopNote: If the sudo tasksel install ubuntu-desktop command doesn’t work, use sudo apt-get install ubuntu-desktop as shown below. Wait for the installation to complete. It will take a few minutes to complete.
sudo apt-get install ubuntu-desktopOnce the installation completes, it will prompt you to reboot the server.

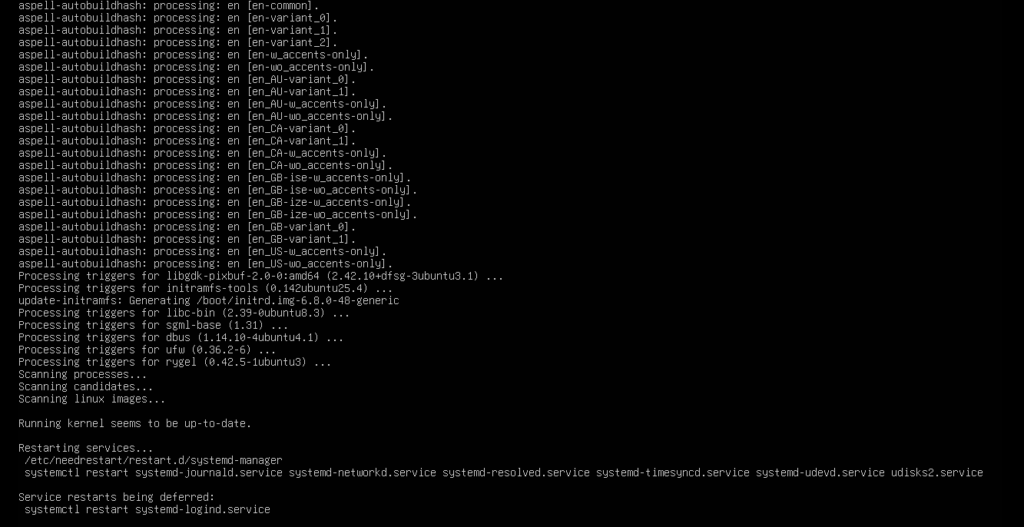
Now, reboot your virtual machine using the reboot command, as shown below.
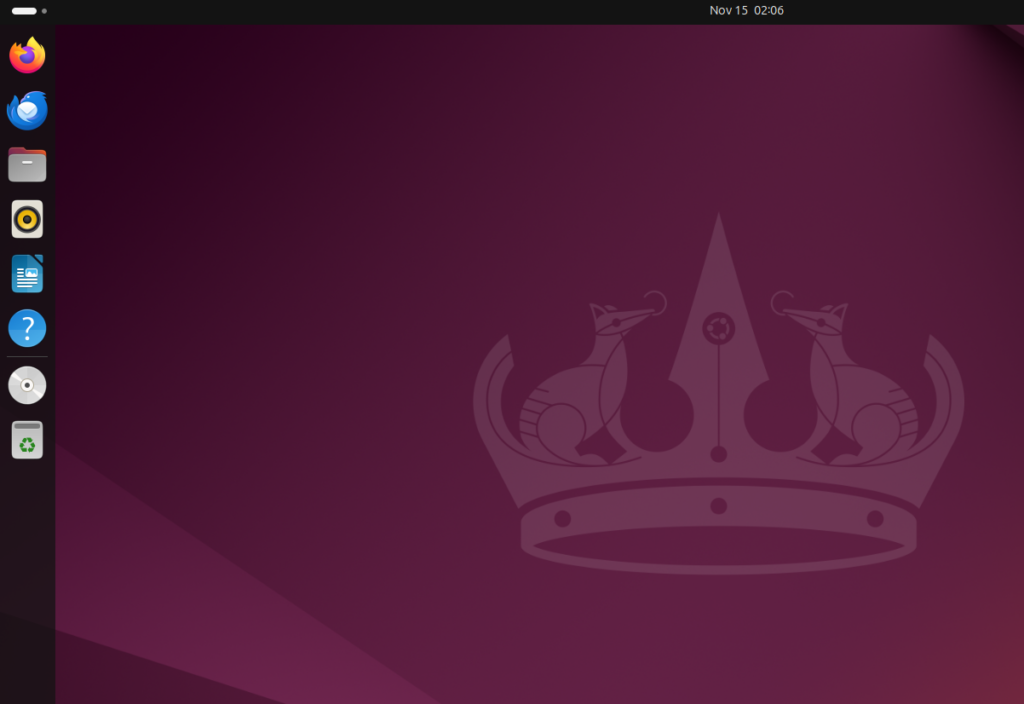
rebootOnce the reboot is completed, you should have a GUI screen similar to the screenshot below.

Log in to your machine and complete the setup.
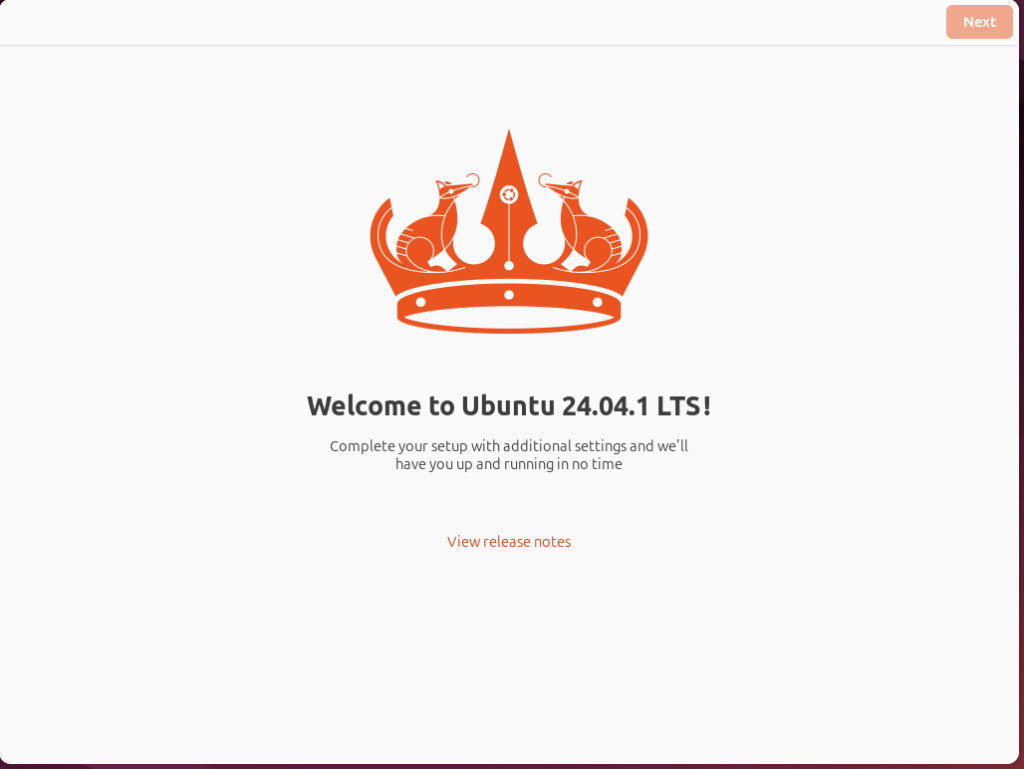
Click Next > Next > Finish.
Conclusion
Congratulations! You’ve successfully installed the Ubuntu Server on the VMware Workstation. Whether you’re using it for development, testing, or learning Linux server administration, your new virtual machine is now ready to be configured and customized to meet your needs.
Frequently Asked Questions (FAQs)
Q1: How much RAM should I allocate to my Ubuntu Server VM?
For basic server tasks, 2 GB of RAM should be sufficient. However, if you plan to run resource-heavy applications, consider allocating 4 GB or more.
Q2: Can I install Ubuntu Desktop instead of the Server edition?
Yes, you can choose to install Ubuntu Desktop if you prefer a GUI. However, Ubuntu Server is typically used in production environments where a GUI is not necessary.
Q3: How do I access my Ubuntu Server remotely?
To access your Ubuntu server remotely, you can use SSH. Make sure to select Install OpenSSH Server during installation. Then, from another machine, you can connect using an SSH client:
